Assembling the frame of the domed house Kombodom
Attention! Before assembling your Kombodob be sure to additionally read the instructions, which can be downloaded in the detailed description of each model in the section. Production.
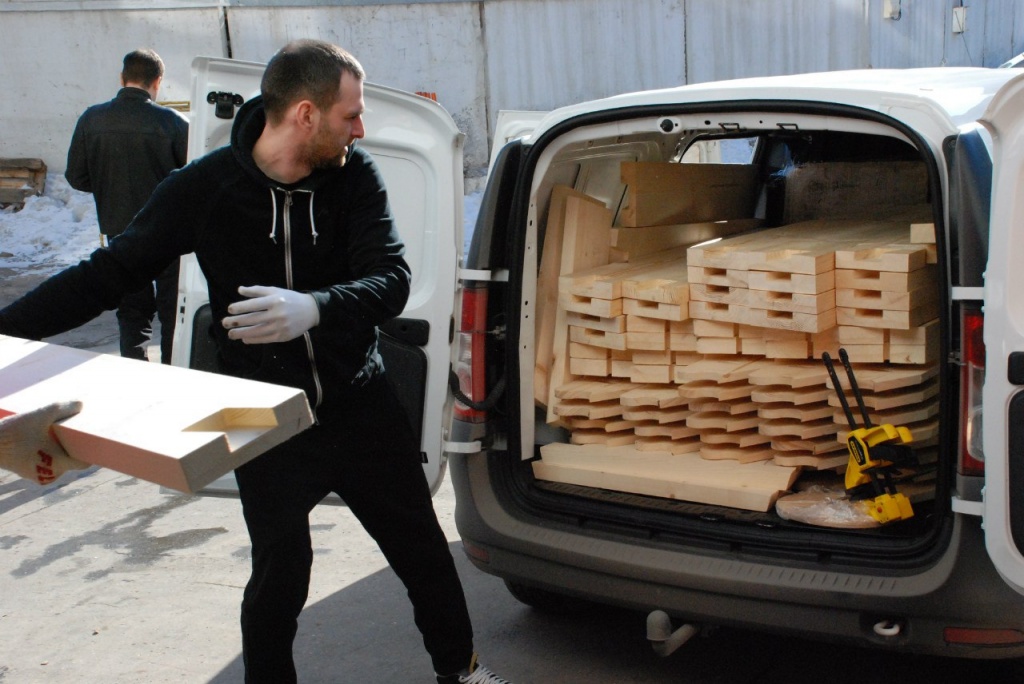
How the Kombodom frames are assembled will become clear to you on the example of assembling the D6 model. The constructors are very compact, for example the D6 model fits entirely into the Lada Largus. Meanwhile, this is a full-fledged studio with a sleeping mezzanine with an area of up to 38 m2 for year-round living.
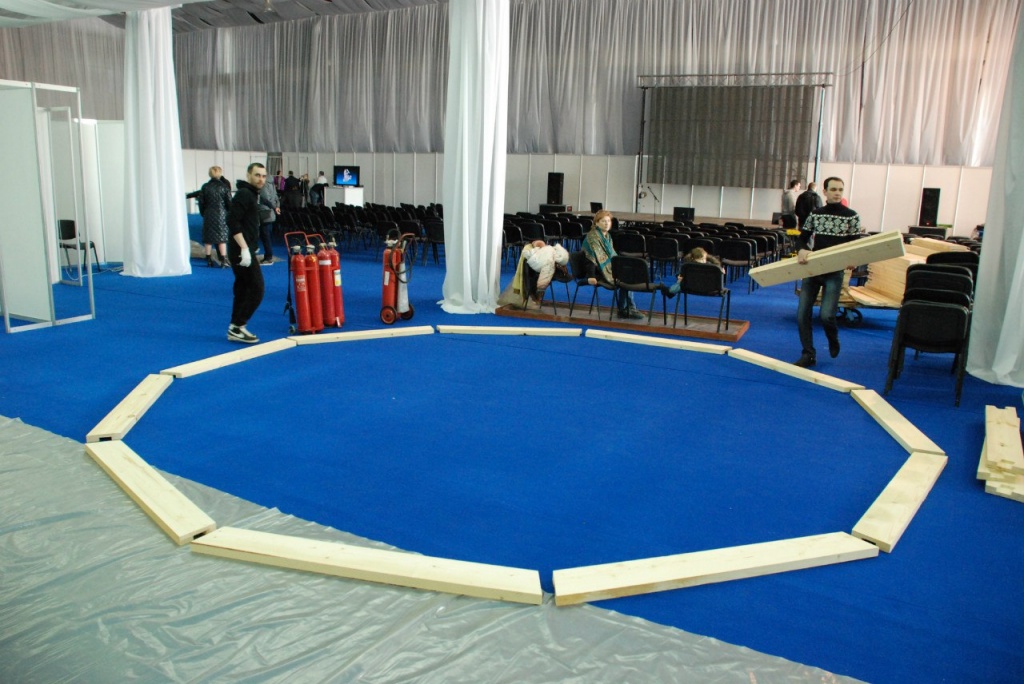
We spread it on the main struts of the lower tier. They are marked with a circle next to the groove.
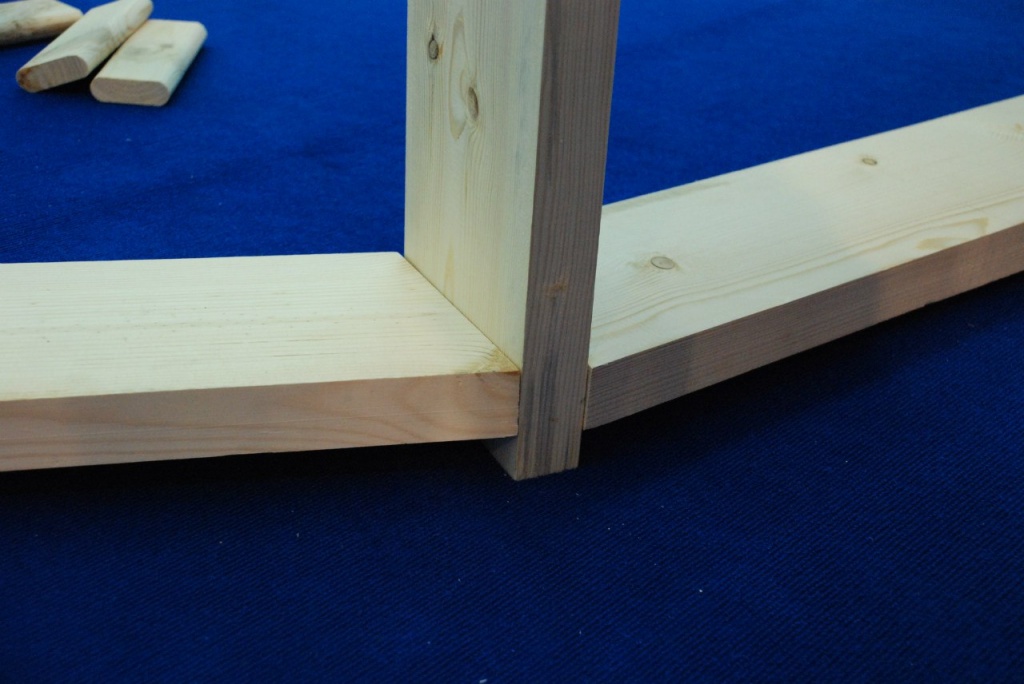
Using a mallet, we drive the dowel into the lower groove on the lower beam.


We put the spacer on the dowel in the beams standing on the base.

Finish off the bottom circle of beams.

Then we mount the second tier of beams, fastening the installed ones with pins and spacers.
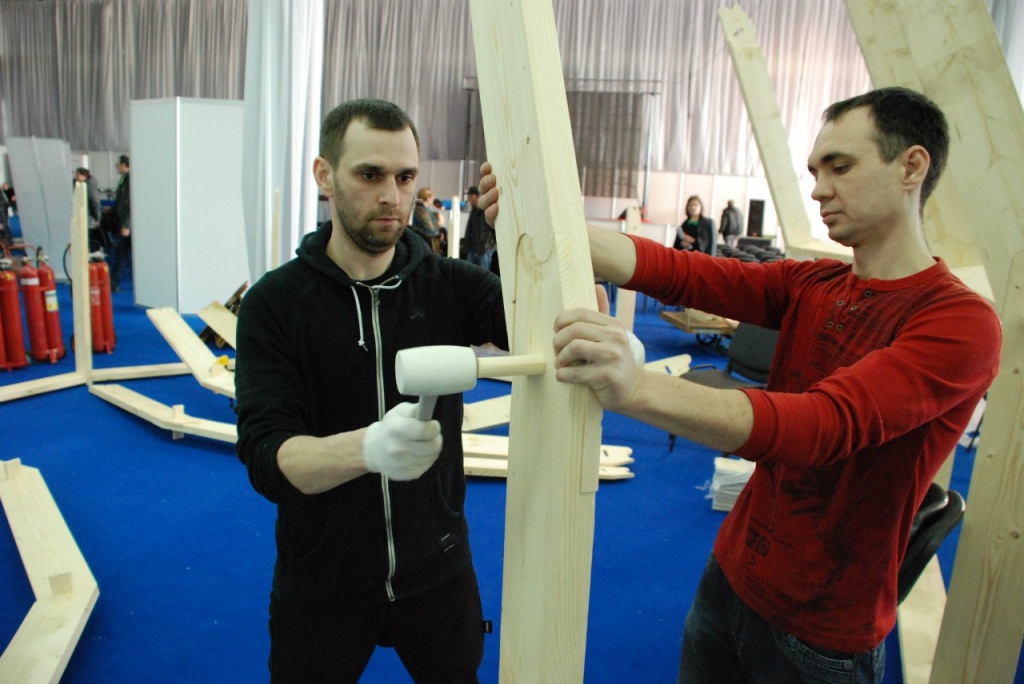
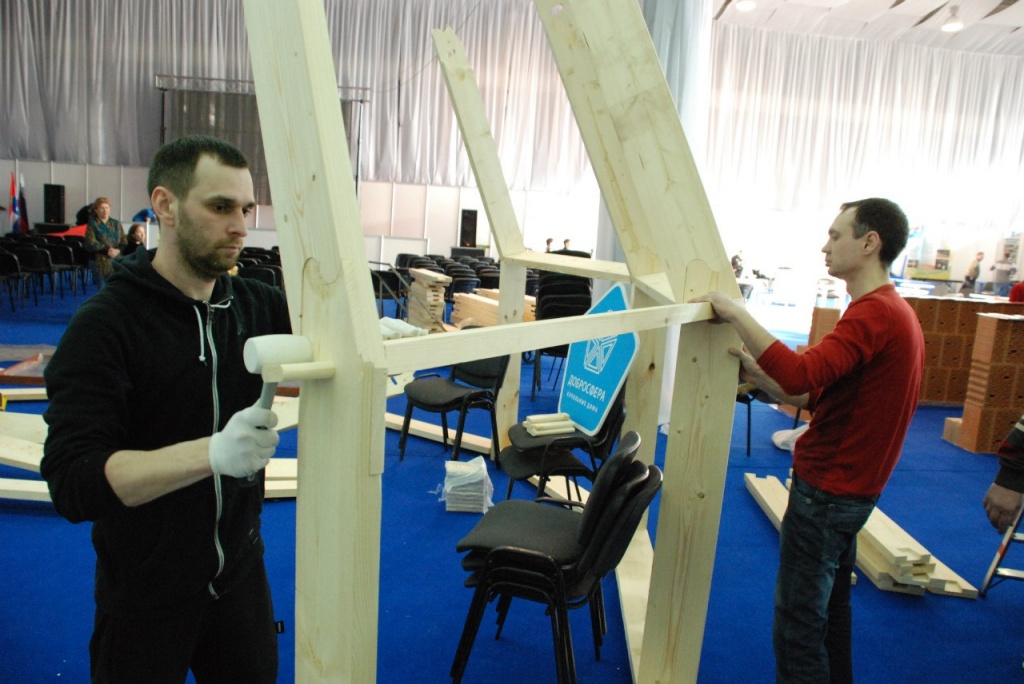

We finish completely the second tier.
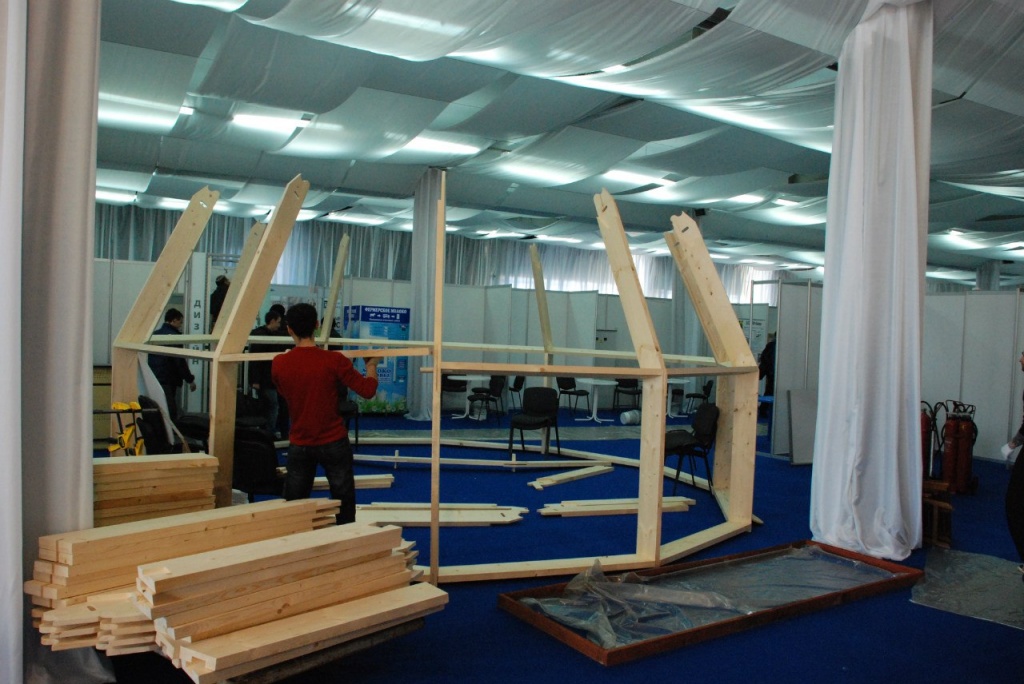
Next, it is necessary to sheathe at least 3 segments of the lower tier to give the structure the stability necessary for further assembly.
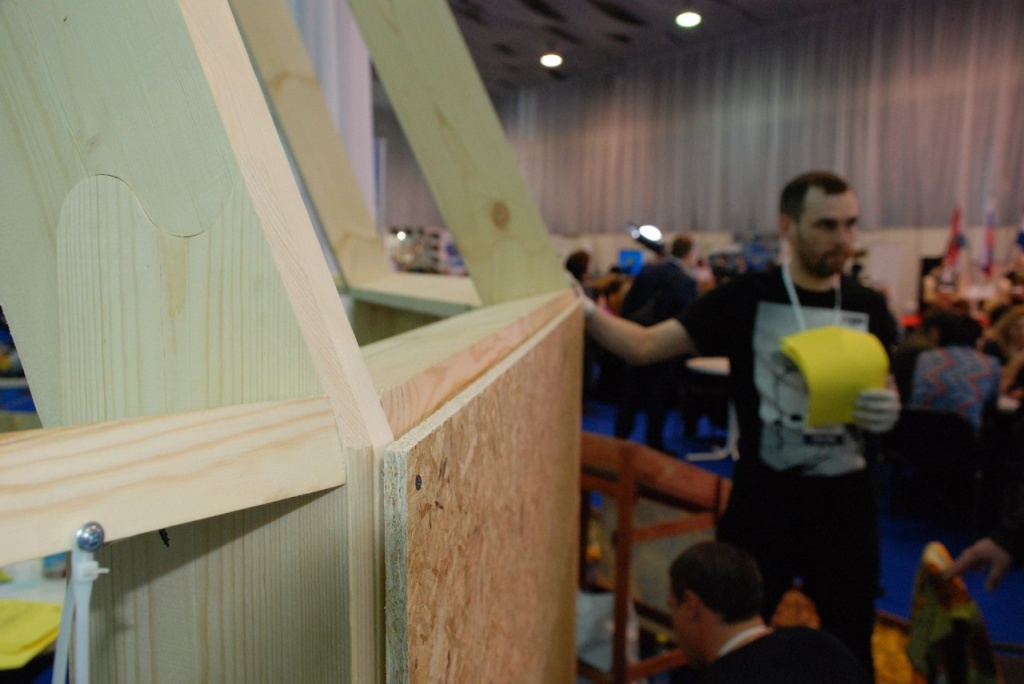
The photo below shows one segment.
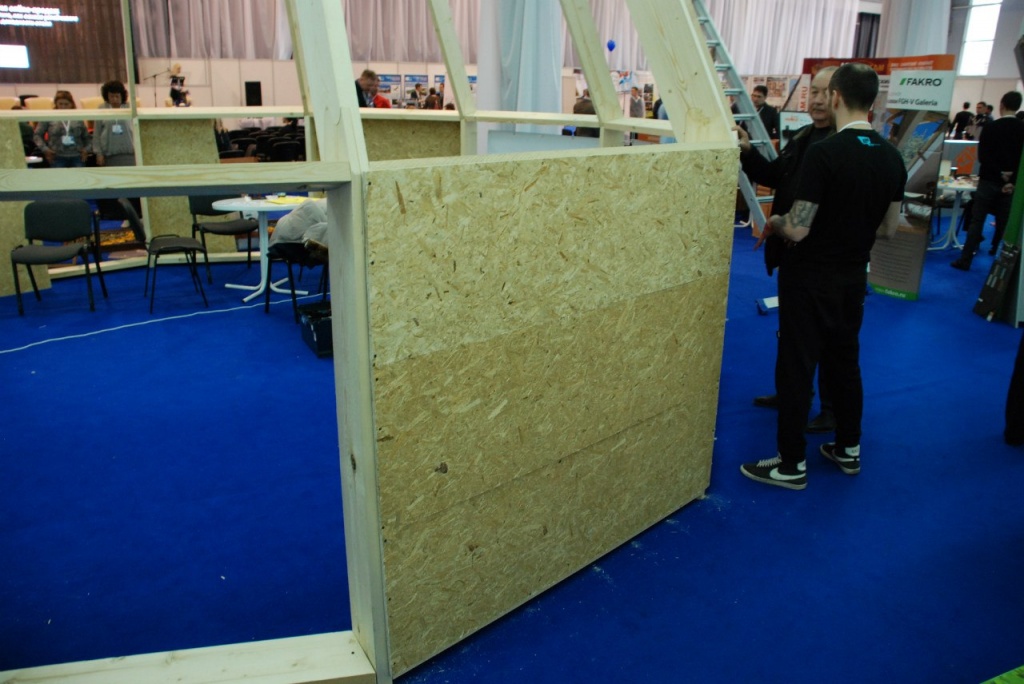
We fix the beams of the third tier on the segment.
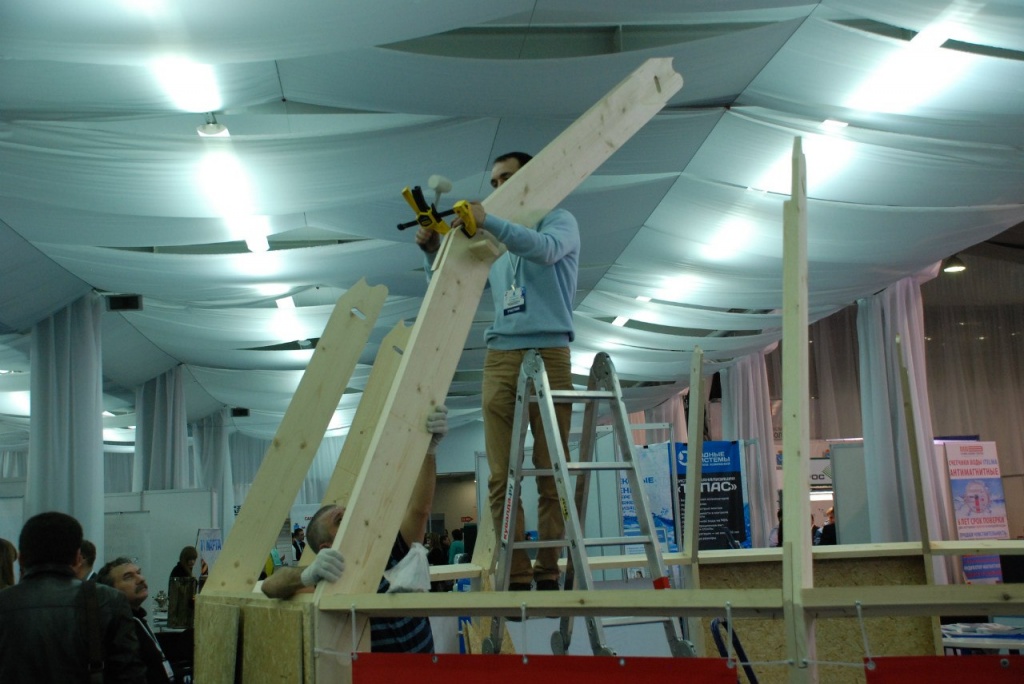
We sew at least 3 segments of the second tier, complete the assembly of the beams onto the central disc.
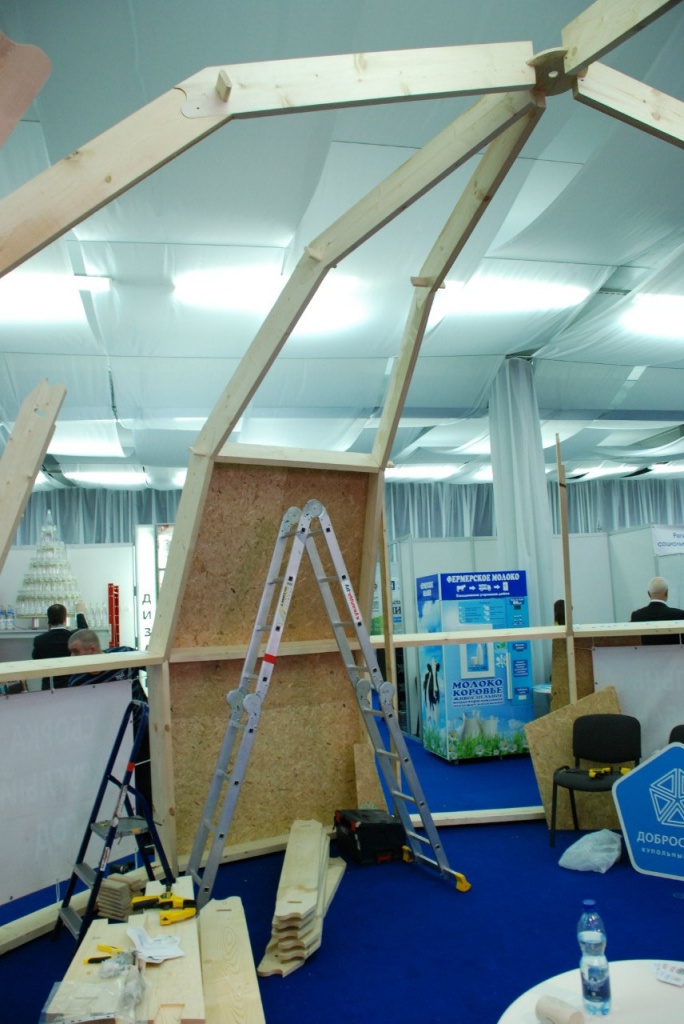
We complete the cladding of the vertical segment completely.
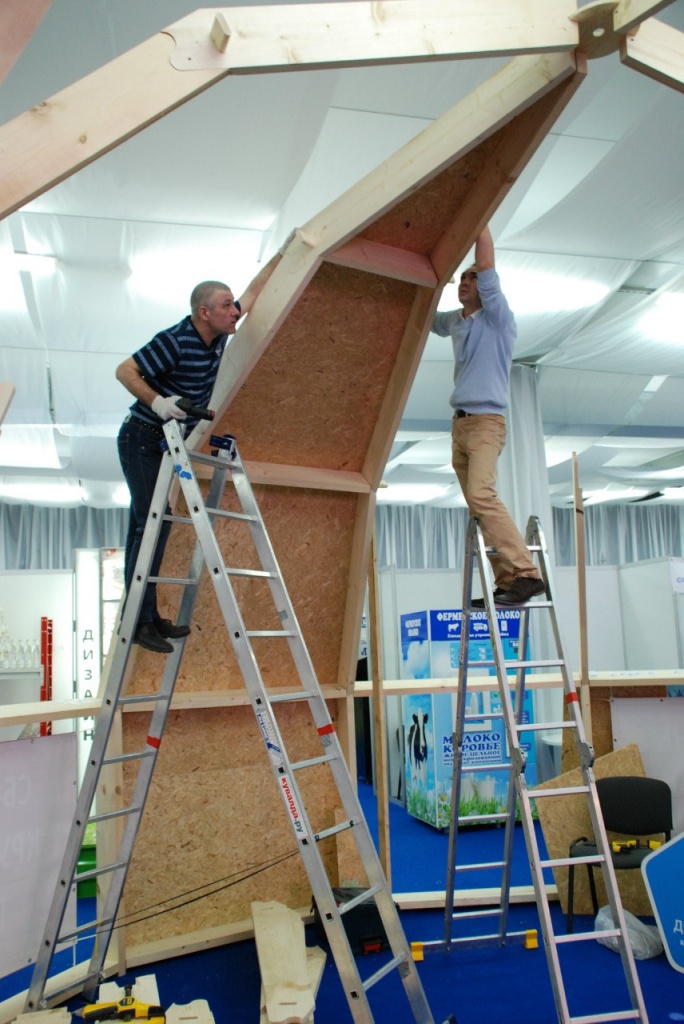
We fix the remaining beams on the central disk, connecting them with pins.

Install the remaining spacers and sheathe the frame to the end.
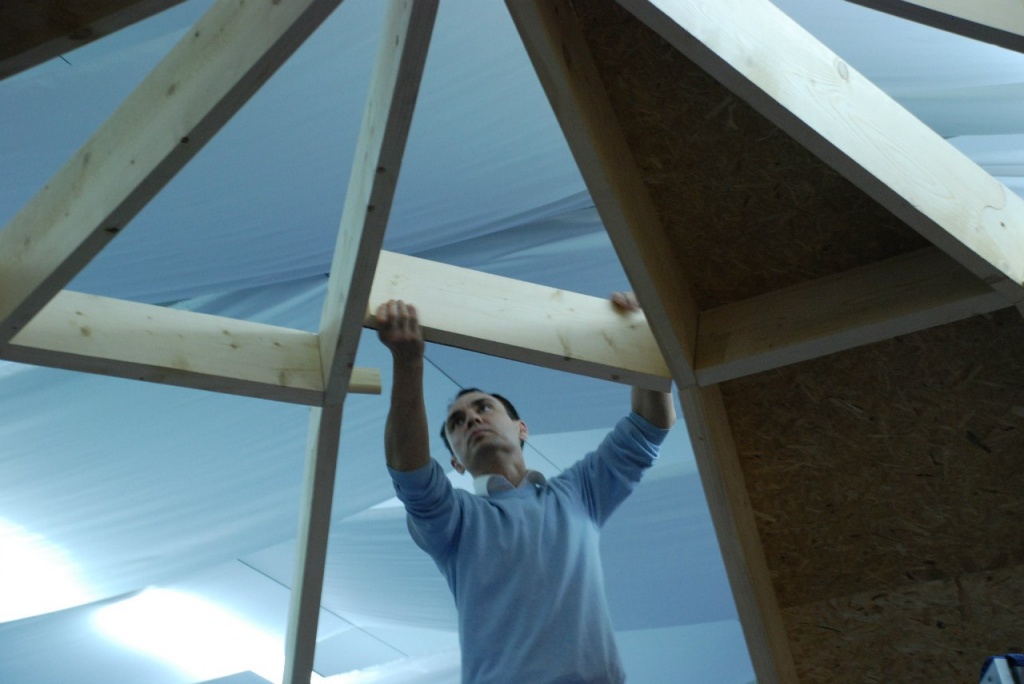
Once again, we remind you to carefully read the assembly instructions and strictly adhere to the recommendations given in it. The framework of your Dobrosphere is ready - quickly and easily.
Our photos, videos and discussions
See the official pages of KOMBODOM:
BUILD IT BY YOURSELF. FREE SHIPPING, ORDER FOR DETAILS

